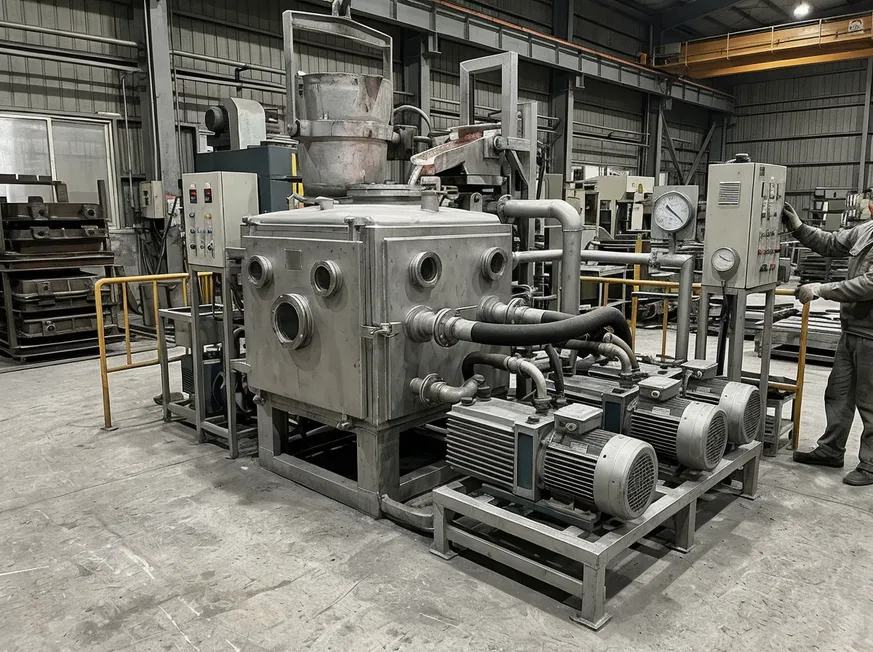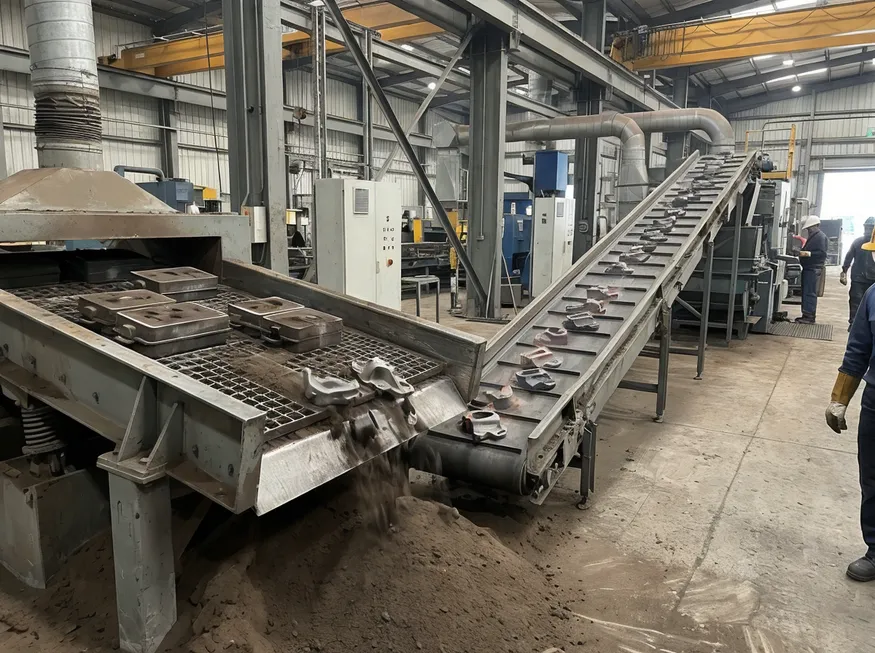
Die replacement costs hit harder than most buyers expect. An H13 die for a mid-size aluminum housing runs $15,000-$25,000, and if you're replacing it at 60,000 shots instead of 100,000, you've just added $0.10-$0.15 to every part's tooling amortization. Multiply that across a 500,000-unit annual run, and premature die wear becomes a $50,000-$75,000 problem.
The wear pattern tells you where the problem started. Erosion at the gate means your shot velocity is too high. Cracking at parting lines means thermal cycling is uncontrolled. Soldering on core pins means your die temperature spiked above the aluminum's liquidus point. Most of these failures trace back to production line configuration issues that were locked in during equipment selection, not die steel quality.
Why Dies Wear Faster Than Expected
Die wear happens through three mechanisms, and they compound each other.
Thermal fatigue comes from repeated heating and cooling cycles. Molten aluminum at 650-700°C hits the die surface, then the die gets sprayed with water-based release agent at 40-60°C. That 600°C temperature swing happens every 45-90 seconds. After 20,000-30,000 cycles, you start seeing heat checking — the fine surface cracks that propagate into the die body. Once cracks reach 0.5-1.0mm depth, they trap molten metal and accelerate erosion.
Mechanical stress from clamping force and injection pressure creates compressive and tensile loads. If your machine's clamping force isn't calibrated correctly, you get uneven pressure distribution across the parting line. High spots take excessive load, low spots allow flash. The high-stress zones develop plastic deformation over time, changing the die's shut height and creating new leak paths.
Erosion and soldering happen when molten metal velocity exceeds the die coating's protective capacity. Aluminum alloys flowing at 40-60 m/s through a 3mm gate create shear forces that strip away the nitride layer on H13 steel. Once bare steel is exposed, aluminum solders directly to the iron matrix. You'll see this first at gates, runners, and any sharp corners where flow accelerates.
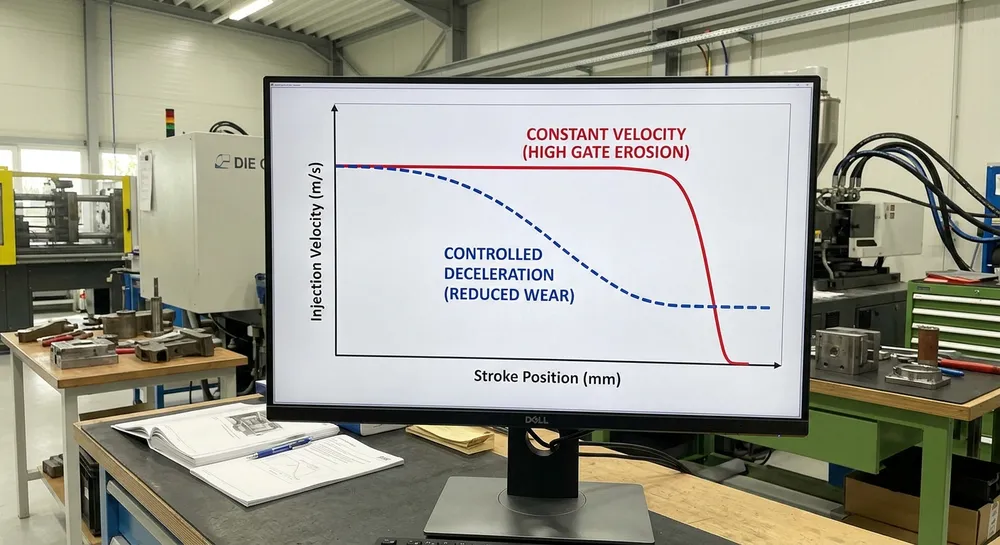
The production line's role in all three mechanisms is bigger than most buyers realize. A machine with poor shot-end velocity control will erode gates 30-40% faster than a machine with programmable deceleration. A line without PLC-based thermal management will cycle die temperature ±50°C across a shift, doubling the thermal fatigue rate.
Machine-Side Factors That Control Die Life
Clamping force calibration matters more than clamping tonnage. A 650-ton machine with poorly calibrated platens will damage dies faster than a properly set-up 500-ton machine. The issue is pressure distribution across the parting surface.
Check your machine's platen parallelism. Spec should be within 0.05mm across the full platen area when measured under clamping load. If one corner of the die sees 120% of nominal pressure while the opposite corner sees 80%, you'll get uneven wear, premature cracking in the high-load zone, and flash in the low-load zone. We've seen dies pulled at 40,000 shots with severe cracking on one half and minimal wear on the other — that's a platen alignment problem, not a die steel problem.
Shot-end velocity control is where most generic production lines fail. The last 10-20% of the injection stroke determines gate erosion rate. If your machine can't decelerate smoothly from 4.5 m/s fill velocity down to 0.5-1.0 m/s for the final gate freeze-off, you're hammering molten aluminum through the gate at full velocity. That's 8-10x the erosive force compared to controlled deceleration.
Hydraulic machines with proportional valves can manage this if the control system is programmed correctly. Servo-electric machines handle it better because velocity control is inherent to the motor drive. But many buyers spec machines based on tonnage and shot capacity without asking about shot-end velocity resolution. That decision costs you 20,000-30,000 shots of die life.

Thermal management on the production line side means consistent die temperature across the entire production shift. Dies perform best in a narrow temperature window: 200-250°C for aluminum die casting, 300-350°C for zinc. Outside that range, you get either soldering (too hot) or premature solidification and cold shuts (too cold).
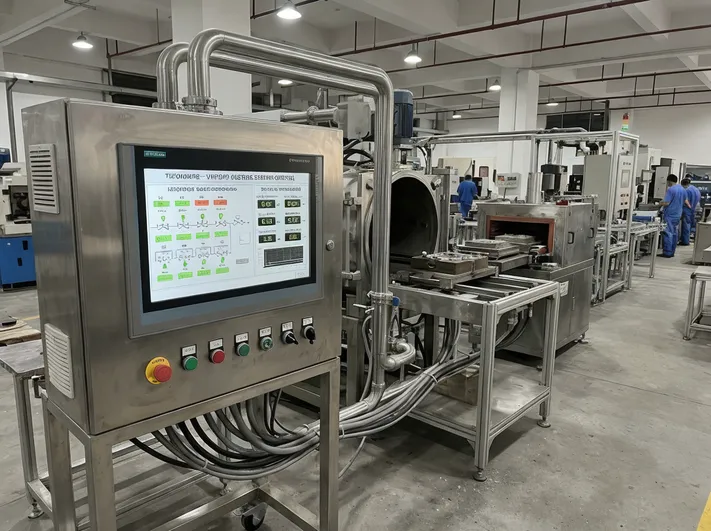
Manual spray time control can't hold that window. Operator adjusts spray duration based on feel, die temperature drifts ±30-50°C across the shift, and you're cycling between soldering risk and fill problems. PLC-based thermal management uses thermocouples embedded in the die to measure actual temperature and adjusts spray time automatically. We've seen this extend die life from 75,000 shots to 110,000 shots on the same die design, same alloy, same part geometry — the only variable was consistent temperature control.
Step-by-Step Die Wear Reduction Protocol
Start with baseline documentation before you change anything. Measure and record:
- Current die life in shot count to first major repair
- Typical wear patterns (gate erosion depth, heat checking severity, soldering locations)
- Die temperature range across a production shift (use contact thermometer or IR camera)
- Actual clamping force at each corner of the platen (use pressure-sensitive film or load cells)
- Shot velocity profile, especially the last 20% of stroke
Step 1: Calibrate clamping force distribution
Set your machine to 80% of rated tonnage (most aluminum parts don't need full tonnage). Place pressure-sensitive film across the parting line and take an impression. You're looking for uniform color intensity across the entire die perimeter. If you see hot spots or dead zones, adjust platen parallelism using the machine's leveling bolts or shims. Repeat until pressure variation is within ±10% across the die face.
This takes 2-3 hours but prevents months of uneven die wear.
Step 2: Program shot-end velocity deceleration
If your machine has programmable injection control, set up a three-stage velocity profile:
- Stage 1: Fast fill at 3.5-4.5 m/s for bulk cavity filling
- Stage 2: Deceleration zone starting at 80-85% of stroke, ramping down to 1.0-1.5 m/s
- Stage 3: Final gate freeze at 0.5-1.0 m/s for the last 5-10mm of stroke
The exact transition points depend on your part geometry and gate location. Run test shots and measure gate erosion depth after 5,000 cycles. Adjust deceleration timing until erosion rate drops to acceptable levels.
Step 3: Implement temperature monitoring and control
Install thermocouples in the die at three locations: near the gate (hottest zone), at the core (highest thermal cycling), and at the parting line (reference point). Connect to your machine's PLC or a standalone temperature controller.
Set target temperature based on your alloy:
- A380 aluminum: 220-240°C
- ADC12 aluminum: 210-230°C
- Zamak 3 zinc: 180-220°C
Program the controller to adjust spray time automatically. Start with 3-5 seconds spray time and let the system learn the correct duration to hold target temperature ±10°C.
Step 4: Optimize die lubrication and release agent application
Excessive release agent causes two problems: it cools the die too aggressively (thermal shock), and it leaves residue that interferes with heat transfer. Insufficient release agent causes soldering.
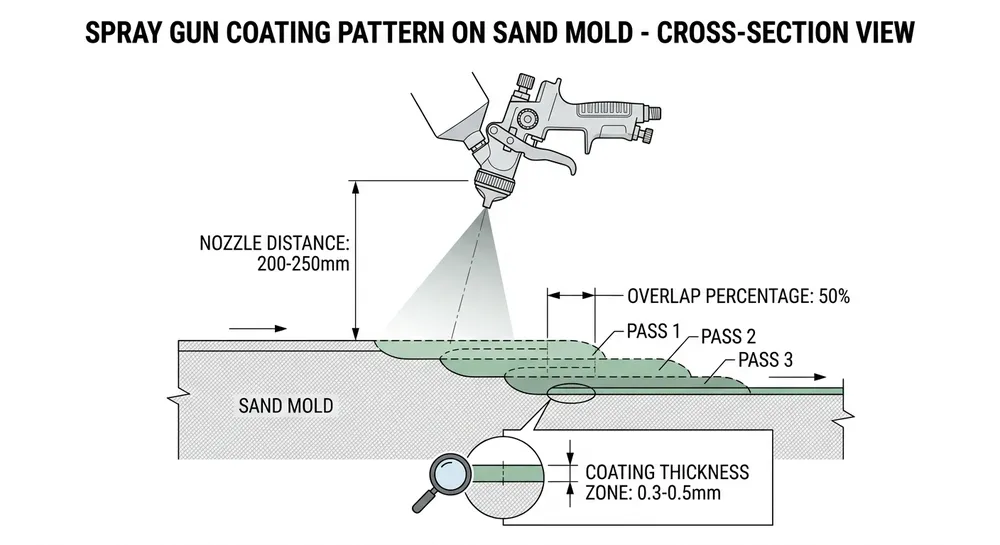
Use a dilution ratio of 1:40 to 1:60 (release agent to water) for aluminum. Apply in a fine mist, not a heavy spray. Total spray time should be 3-6 seconds for a typical mid-size die. If you're spraying for 10-15 seconds, you're overcooling the die and wasting material.
Automated spray systems with programmable nozzle patterns work better than manual spray because they're consistent shot-to-shot. Inconsistent spray is one of the top three causes of temperature cycling problems.
Step 5: Establish die maintenance intervals
Don't wait for visible damage. Set inspection intervals based on shot count:
- Every 5,000 shots: Visual inspection for soldering, flash, and surface defects
- Every 15,000-20,000 shots: Measure gate erosion depth, check heat checking severity, clean vents
- Every 40,000-50,000 shots: Full die inspection, re-polish critical surfaces, re-apply PVD coating if used
Gate erosion depth is your leading indicator. Measure with a depth gauge at the same location each time. If erosion rate exceeds 0.02mm per 1,000 shots, your shot velocity or die temperature is wrong.
Production Line Design Factors That Affect Die Longevity
If you're evaluating production lines for a new facility or expansion, die life should be part of your total cost of ownership calculation. A machine that costs $50,000 less but shortens die life by 25% will cost you more over a 5-year run.
Hydraulic clamping precision varies significantly between manufacturers. Look for machines with:
- Four-point clamping force monitoring (load cells at each tie bar)
- Automatic platen parallelism adjustment
- Clamping force resolution better than ±2% of setpoint
Generic hydraulic machines often have ±5-8% clamping force variation, which translates directly to uneven die wear.
Injection system design determines how well you can control shot-end velocity. Servo-electric machines give you better velocity control than standard hydraulic systems, but they cost 30-40% more. If your parts have thin walls or long flow lengths (high gate velocity), the servo-electric premium pays back through extended die life.
For hydraulic machines, ask about proportional valve response time and velocity control resolution. You want velocity adjustable in 0.1 m/s increments, not 0.5 m/s steps.
Thermal management systems on better production lines include:
- Multi-zone die temperature control (separate circuits for cores, cavity, slides)
- PLC integration with automatic spray time adjustment
- Die temperature trending and alarm functions
These features add $8,000-$15,000 to machine cost but can extend die life by 30-50%. On a $20,000 die running 100,000 shots per year, that's $6,000-$10,000 annual savings in tooling cost.
TZFoundry production lines use PLC-based thermal management with programmable shot-end control as standard features, not options. We've tracked die life data from customer installations — properly configured lines consistently hit 100,000-120,000 shots on H13 dies for aluminum housing parts, compared to 70,000-85,000 shots on generic machines running the same parts.

Die Material Selection and Heat Treatment Verification
H13 tool steel is standard for aluminum and zinc die casting, but not all H13 is equal. Die life depends on heat treatment quality, not just chemistry.
Hardness specification for aluminum die casting should be 44-48 HRC. Below 44 HRC, the die is too soft and you'll get erosion and plastic deformation. Above 48 HRC, the die becomes brittle and prone to cracking. For zinc die casting, you can run slightly softer at 42-46 HRC because zinc's lower casting temperature reduces thermal stress.
Ask your die supplier for heat treatment certification. You want to see:
- Austenitizing temperature and hold time
- Quench method (oil, gas, or vacuum)
- Tempering temperature and number of cycles
- Final hardness measurement (minimum 5 points across the die)
We've seen dies fail at 30,000 shots because the heat treatment was rushed — insufficient tempering cycles left residual stress that turned into cracks under thermal cycling.
Premium tool steels like H11, H19, or powder metallurgy grades (Uddeholm QRO 90, Bohler W360) can extend die life 50-100% compared to standard H13, but they cost 2-3x more. The economics work when:
- Your part has high production volume (500,000+ shots per year)
- Die replacement downtime is expensive (automotive, high-volume consumer products)
- Your alloy or process is particularly aggressive (high silicon aluminum, long cycle times)
For most mid-volume production (100,000-300,000 shots per year), standard H13 with proper heat treatment and good production line control gives you the best cost per part.
Surface treatments like nitriding or PVD coating add 10,000-20,000 shots of life by reducing soldering and erosion. Nitriding creates a hard case 0.1-0.3mm deep that resists aluminum adhesion. PVD coatings (TiN, CrN, AlTiN) provide even better release properties but cost more and require re-coating after 40,000-60,000 shots.
The decision depends on your gate design. If you have small gates (under 2mm) with high velocity, PVD coating pays back quickly. For larger gates with moderate velocity, nitriding is usually sufficient.
Upstream Prevention: What to Control Before the Die Reaches Your Line
Die life problems often start before the die arrives at your facility. If your die supplier doesn't control these factors, you'll fight wear issues no matter how well you run the machine.
Die steel traceability matters because chemistry variations affect heat treatment response. Sulfur content above 0.03% makes H13 prone to hot cracking. Silicon below 0.8% reduces high-temperature strength. Ask for mill certificates with full chemistry analysis, not just a statement that the steel "meets H13 spec."
Stress relief after machining is skipped by some die makers to save time. EDM and hard milling both introduce residual stress into the die surface. Without stress relief (4-6 hours at 540-580°C), that stress turns into cracks after 15,000-25,000 thermal cycles. If your dies are cracking prematurely and the heat checking pattern follows EDM'd features, insufficient stress relief is the likely cause.
Gate and runner design determines erosion rate more than any machine setting. Sharp corners and abrupt flow direction changes accelerate erosion. A 90-degree turn in the runner creates a high-velocity impact zone that will erode 3-4x faster than a smooth radius transition.
Work with your die designer to:
- Use minimum 2mm radius at all flow direction changes
- Keep gate velocity under 40 m/s for aluminum (calculate from gate area and injection speed)
- Avoid thin gates (under 1.5mm) unless absolutely required for part quality
If your current dies are wearing out at gates, the next die should have larger gate area or relocated gate position. Trying to solve a design problem with machine settings rarely works.
Practical Recommendations for Extending Die Life
If you're running existing equipment, focus on the three highest-impact changes first:
- Calibrate clamping force distribution — this costs you 2-3 hours of downtime but prevents months of uneven wear
- Install die temperature monitoring — even a basic three-point thermocouple system with manual spray adjustment will cut temperature variation in half
- Document your current die life baseline — you can't improve what you don't measure
If you're specifying new production lines, die life should be part of your total cost of ownership analysis. A machine with precision clamping control, programmable shot-end velocity, and integrated thermal management will cost $40,000-$60,000 more than a basic hydraulic machine. But if it extends your die life from 70,000 shots to 110,000 shots, you're saving $0.06-$0.09 per part in tooling cost. On a 500,000-unit annual run, that's $30,000-$45,000 per year — the premium pays back in 12-18 months.
For buyers evaluating die casting production line equipment, ask suppliers for commissioning data showing actual die life from customer installations. Generic spec sheets list tonnage and shot capacity but rarely mention the process control features that determine die longevity.
TZFoundry production lines include PLC-based thermal management and four-point clamping force monitoring as standard features. We track die life data from customer installations because it's the clearest measure of whether our process control systems actually work. If you're replacing dies more often than expected, send us your current die life data and production parameters — our engineering team will identify which machine-side factors are shortening your die life and recommend specific fixes.
Ready to reduce your tooling cost per part? Contact our engineering team with your current die life data, part specifications, and annual volume. We'll provide a detailed analysis of how production line configuration affects your die replacement frequency and calculate the ROI of upgrading to precision process control.

Zhang Peng leads lost foam casting systems at TZFoundry, where he has spent over 12 years engineering vacuum casting lines, coating systems, and foam pattern equipment for export foundries. He specializes in defect prevention and yield optimization across cast iron...